Initial Setup
This video shows how to configure Wireshark after a clean install. We cover creating a profile, adding columns, toggling packet coloring, and basic display filters.
open Wireshark
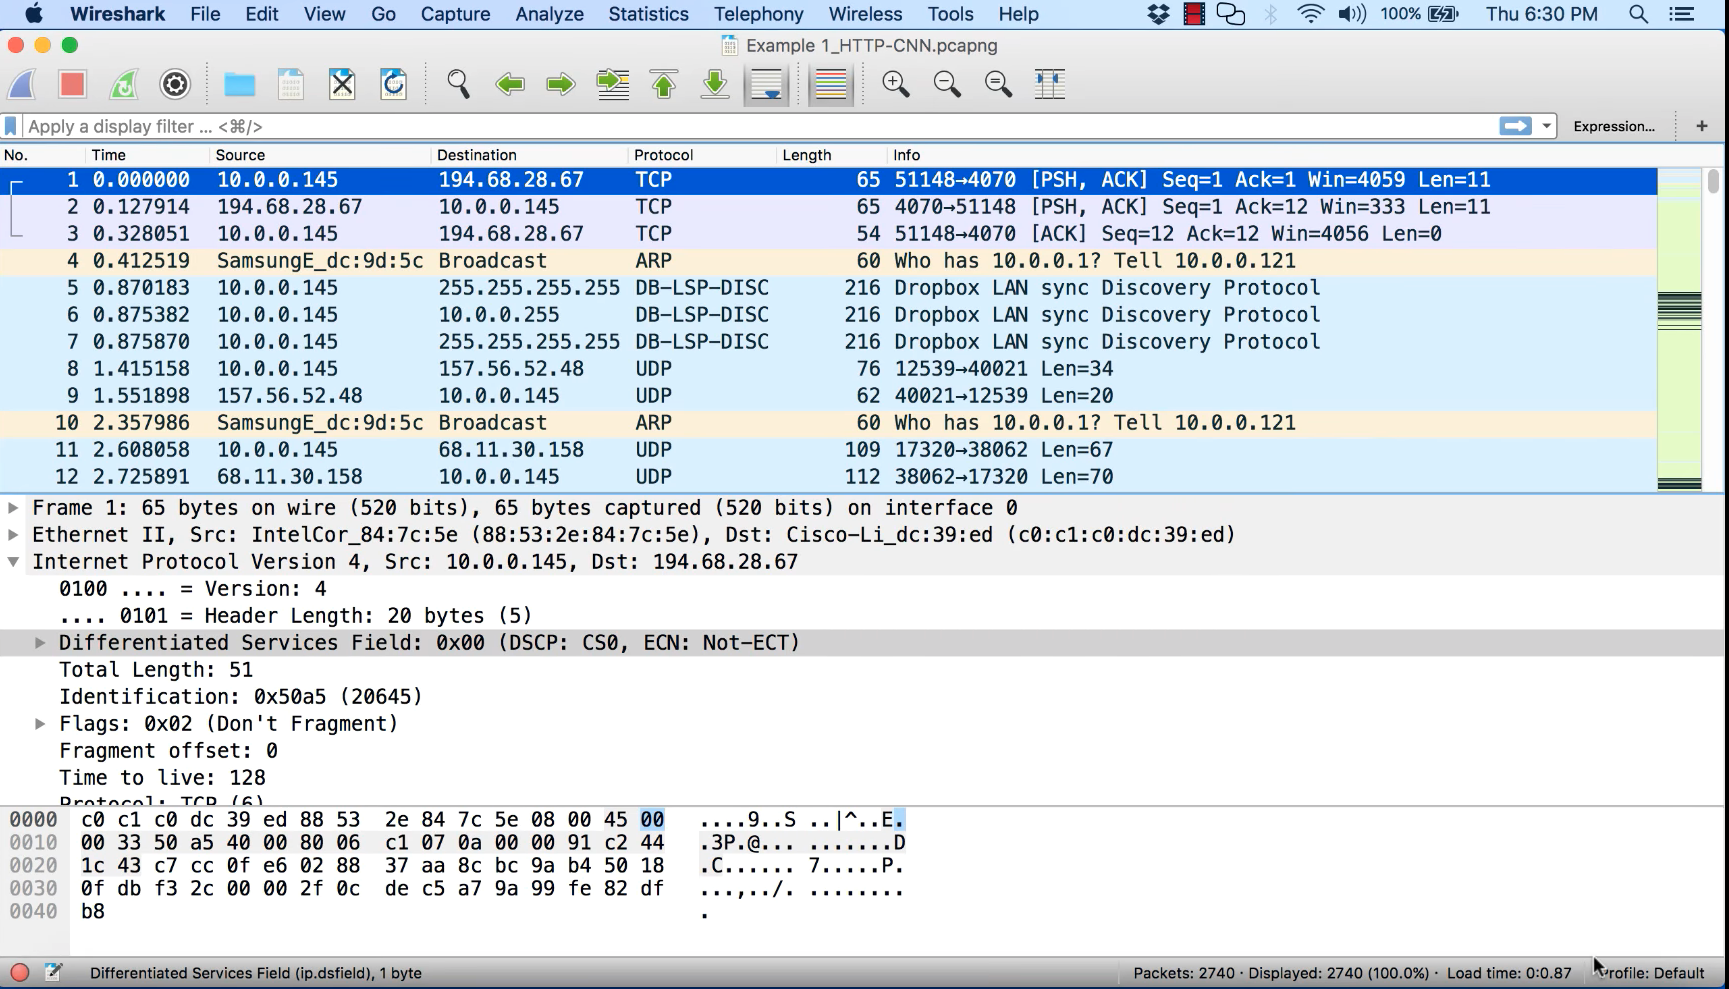
right-click on the bottom of the Wireshark screen
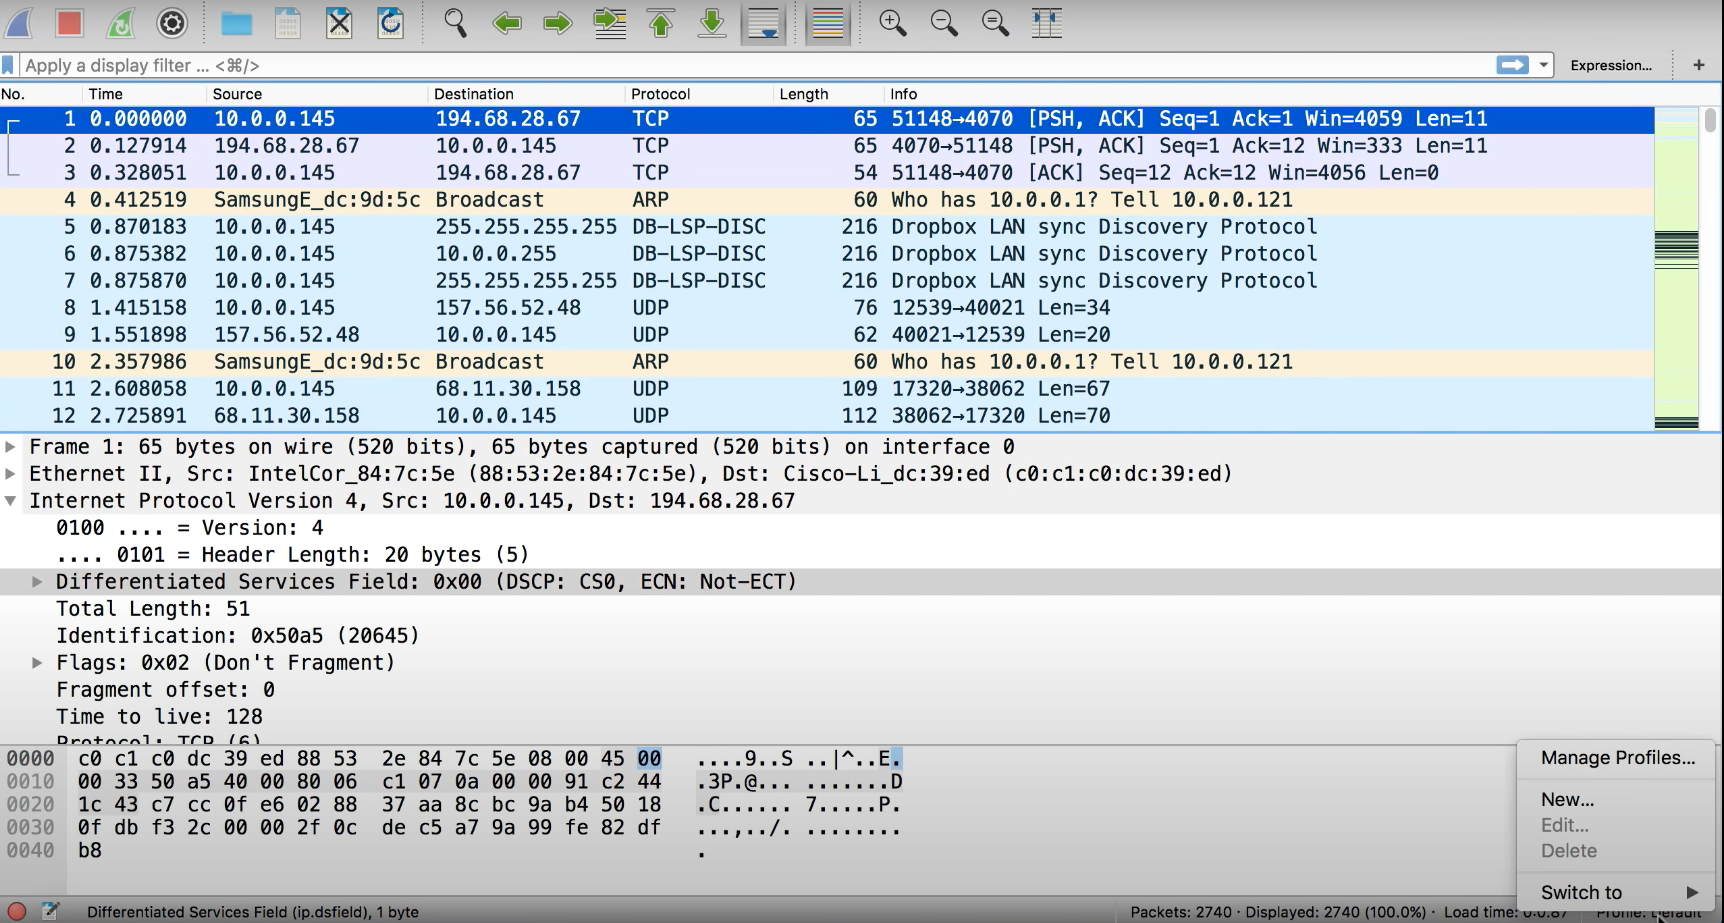
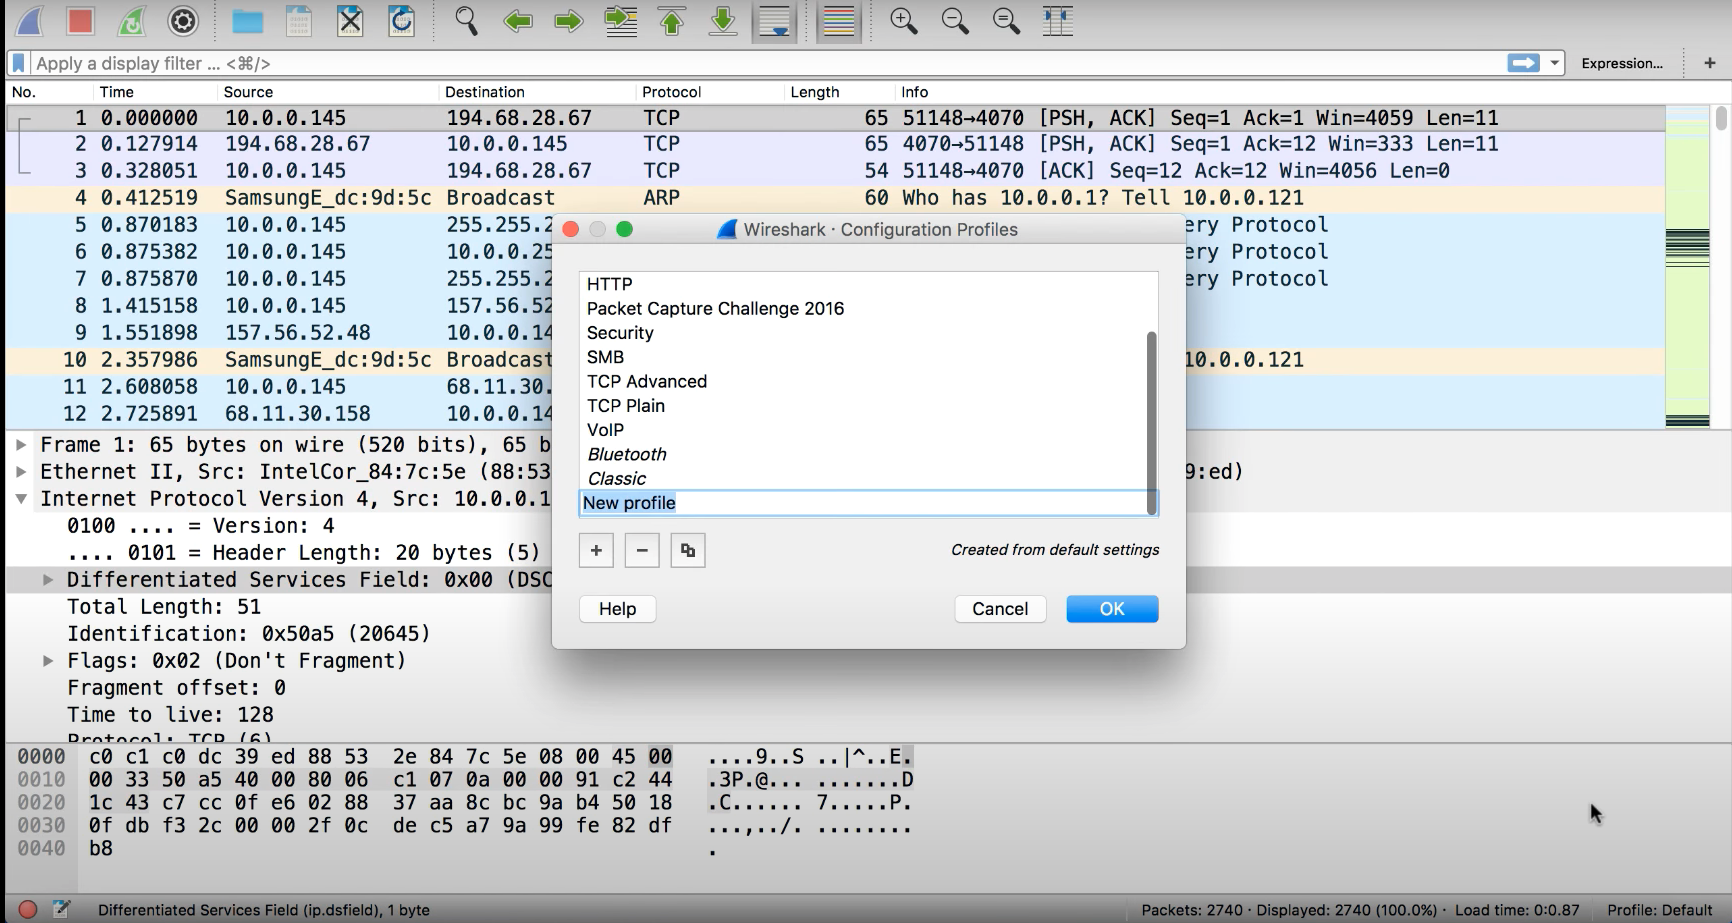
to create a new profile to make sure you save all the configuration and filters
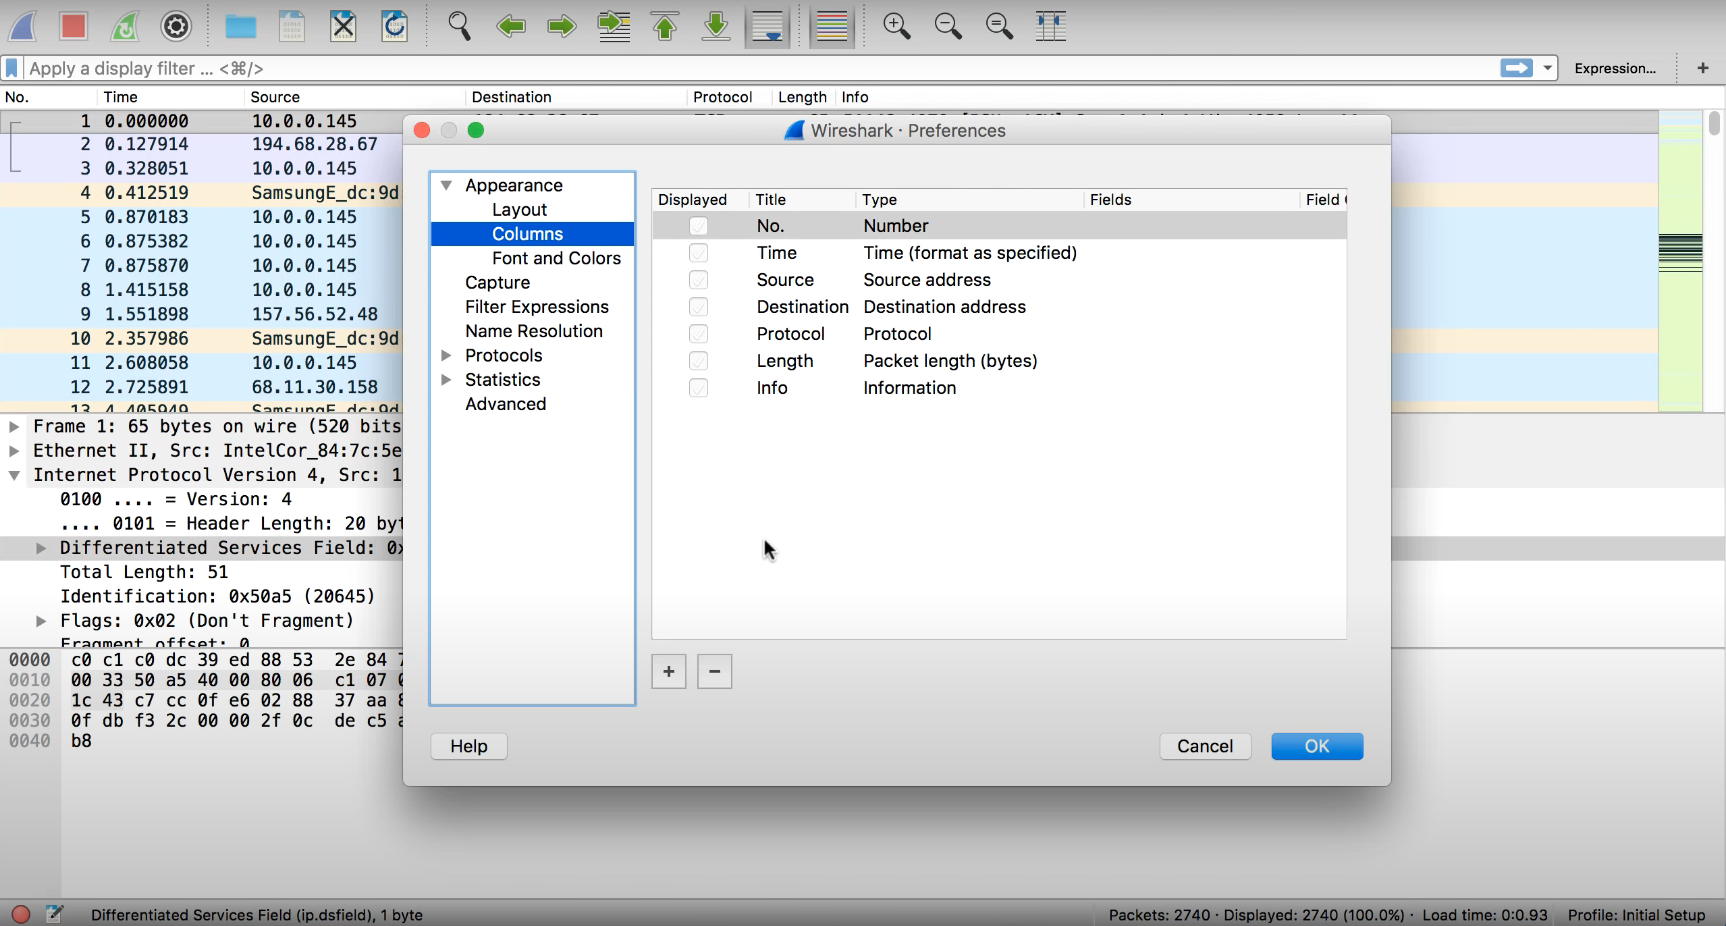
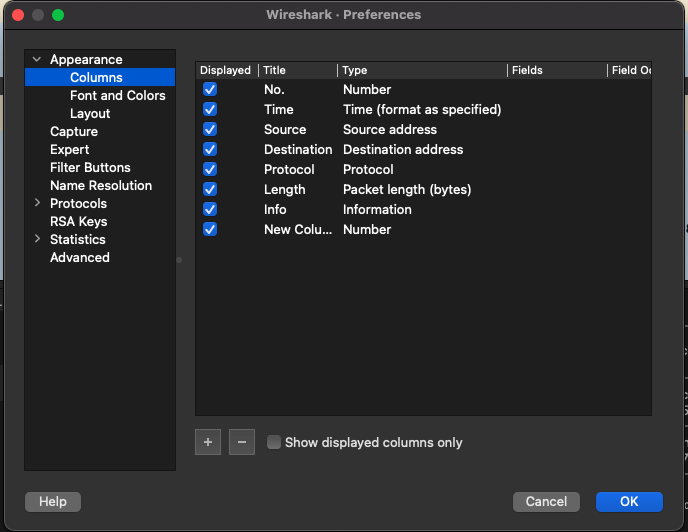
the default columns that are applied for the new profile are this:
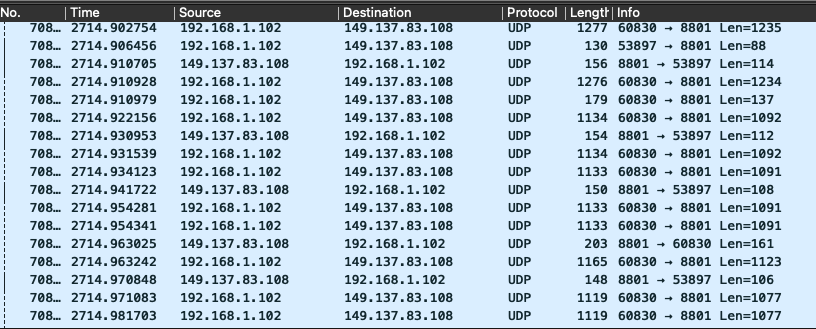
so let's add some more interesting columns via preferences
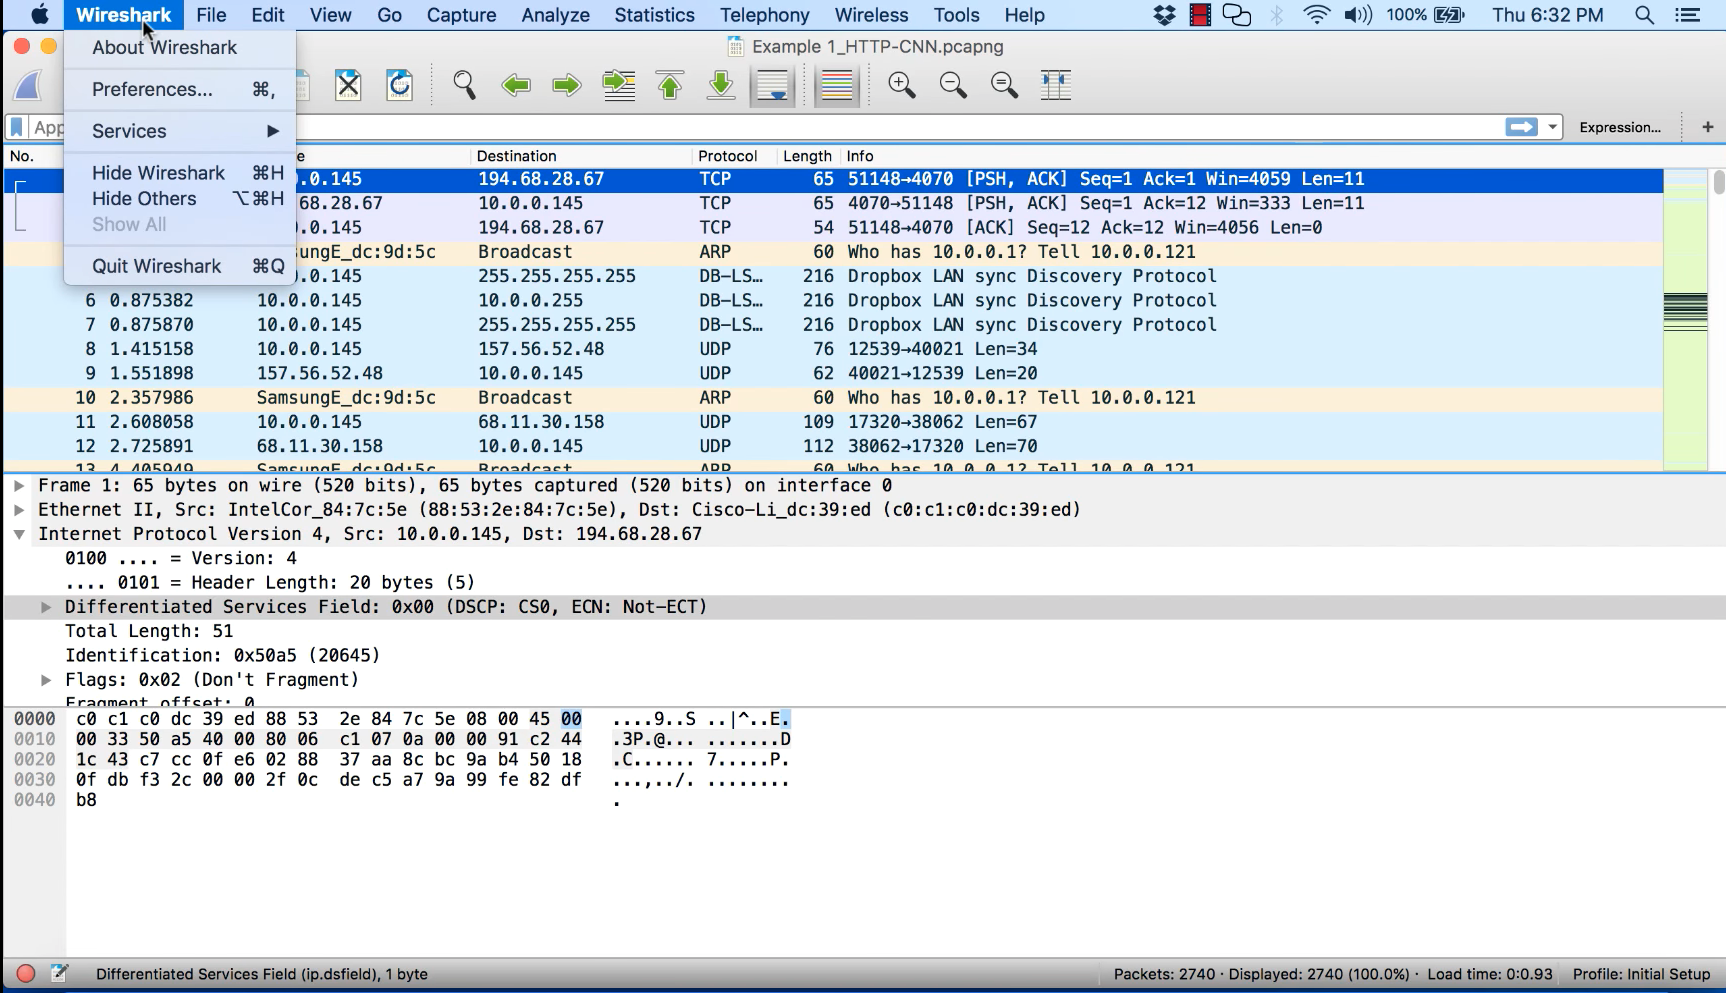
adding a costume column hit on “+”
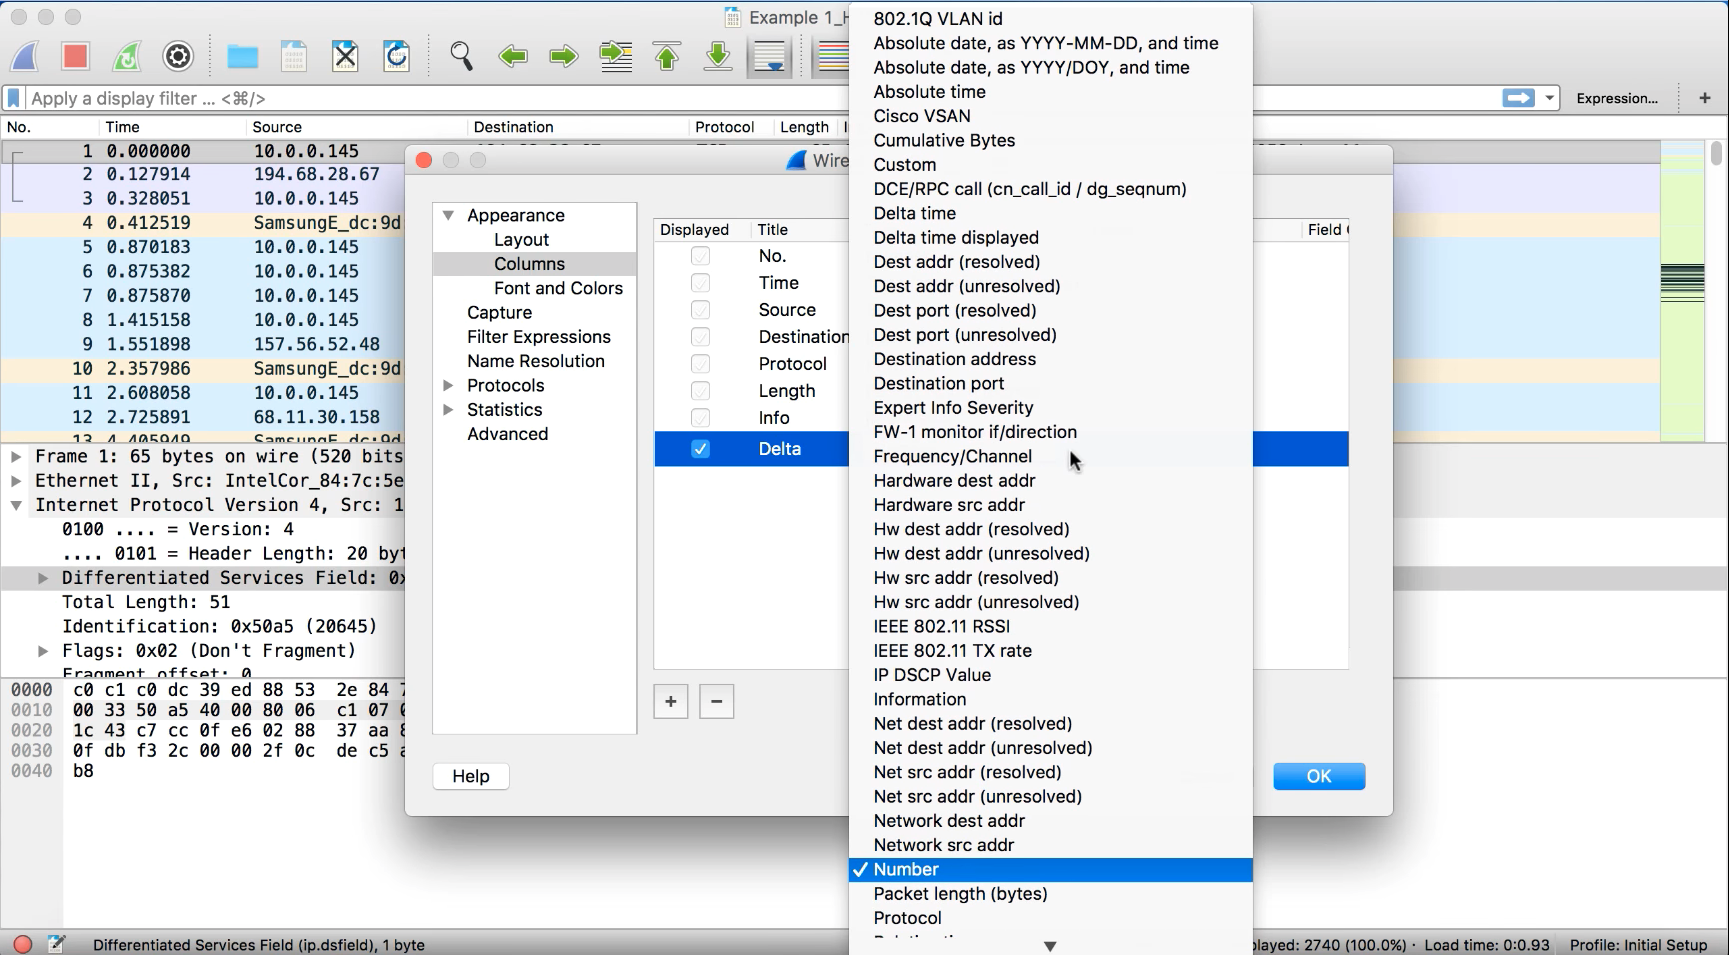
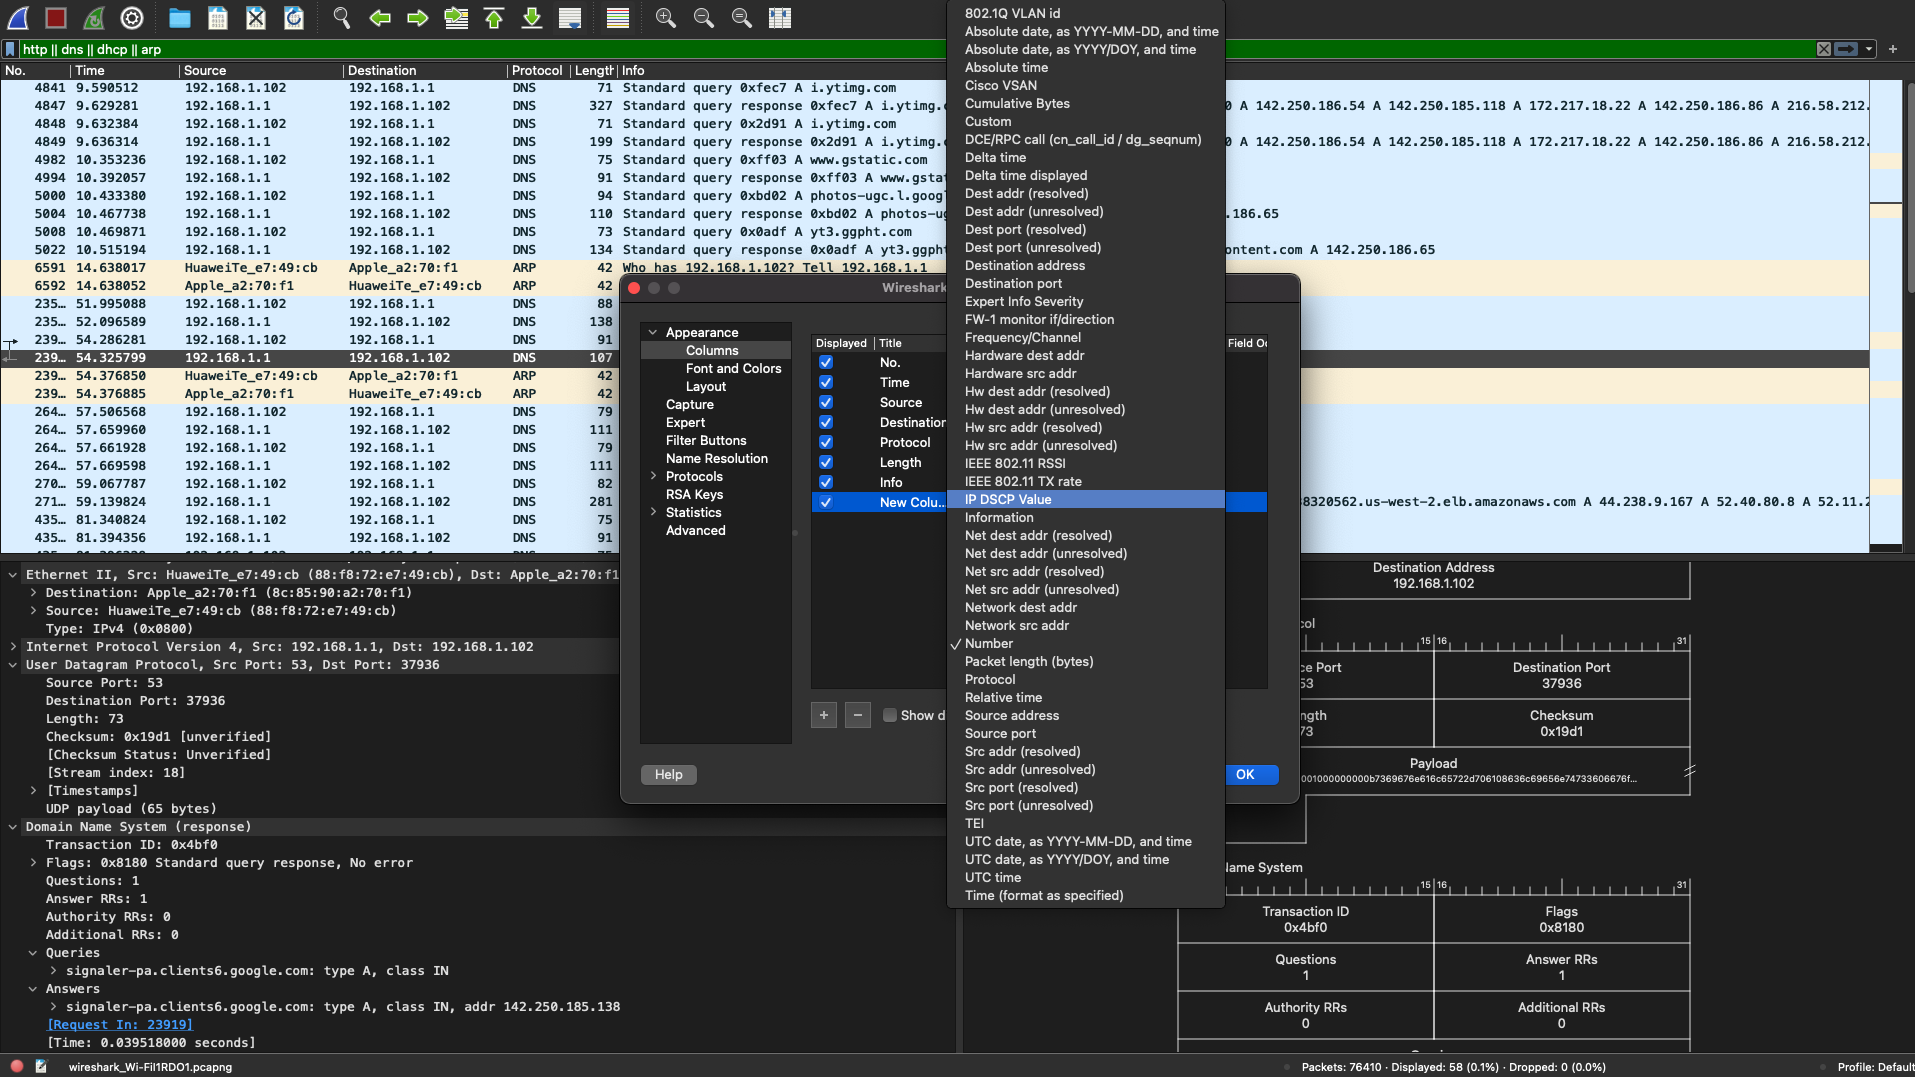
select the column from a dropdown list and name it
adding TCP errors button
TCP.analysis.flagsClick on the “+” button
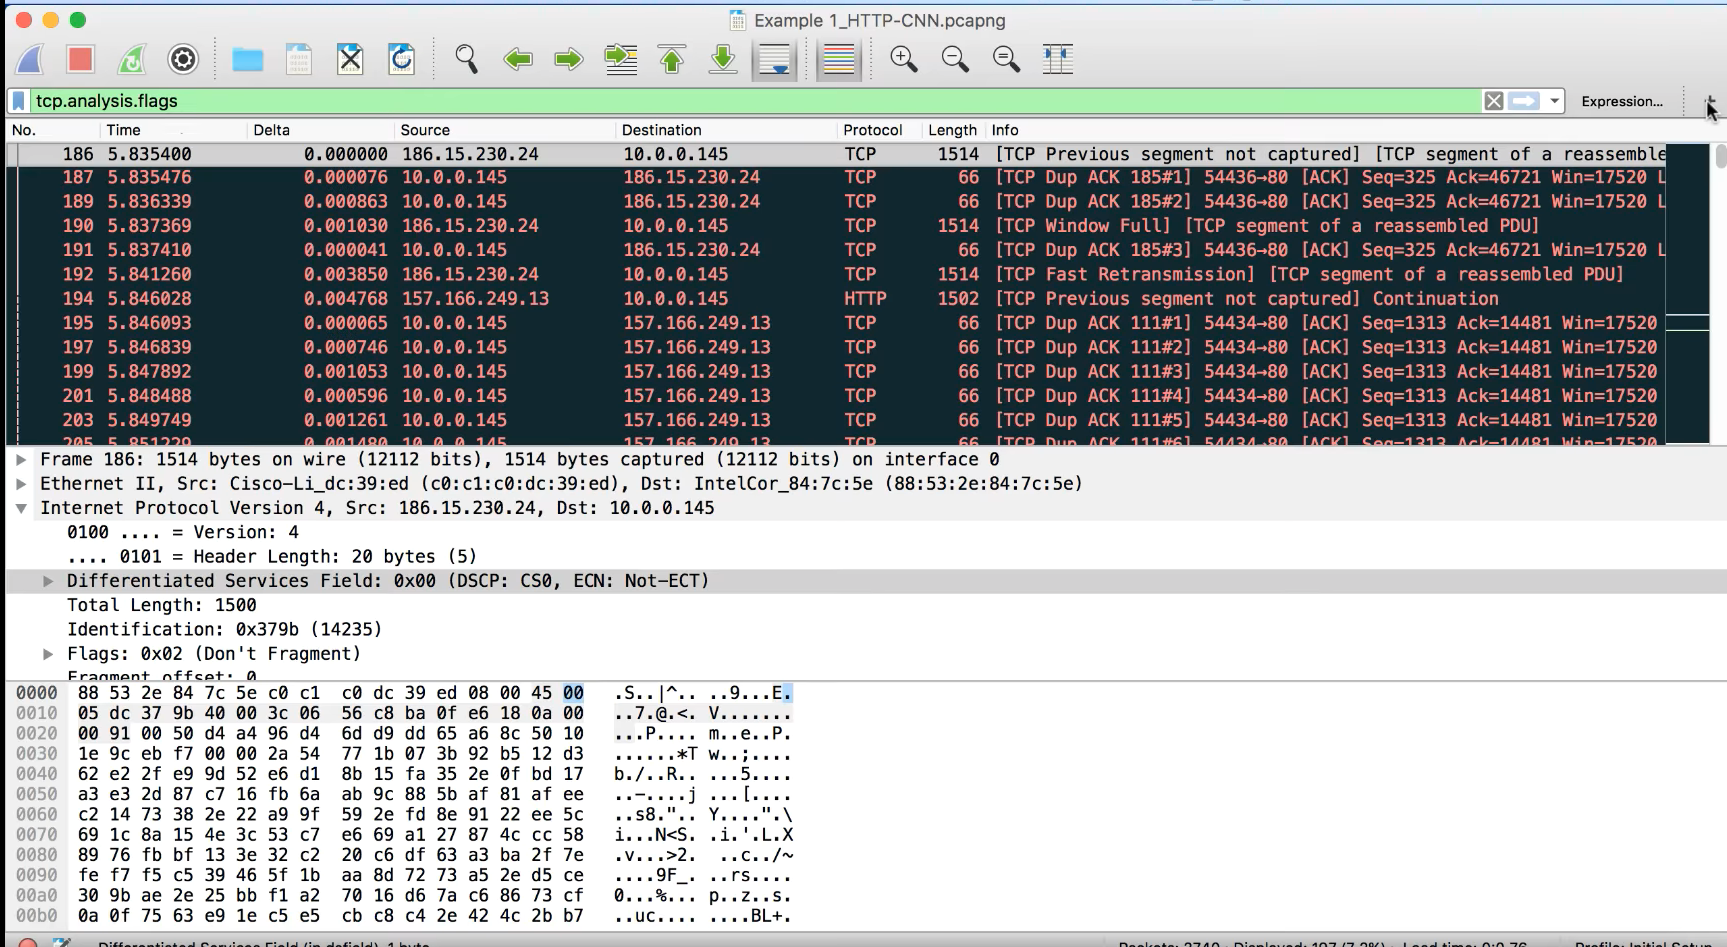
name the label and write down the filter
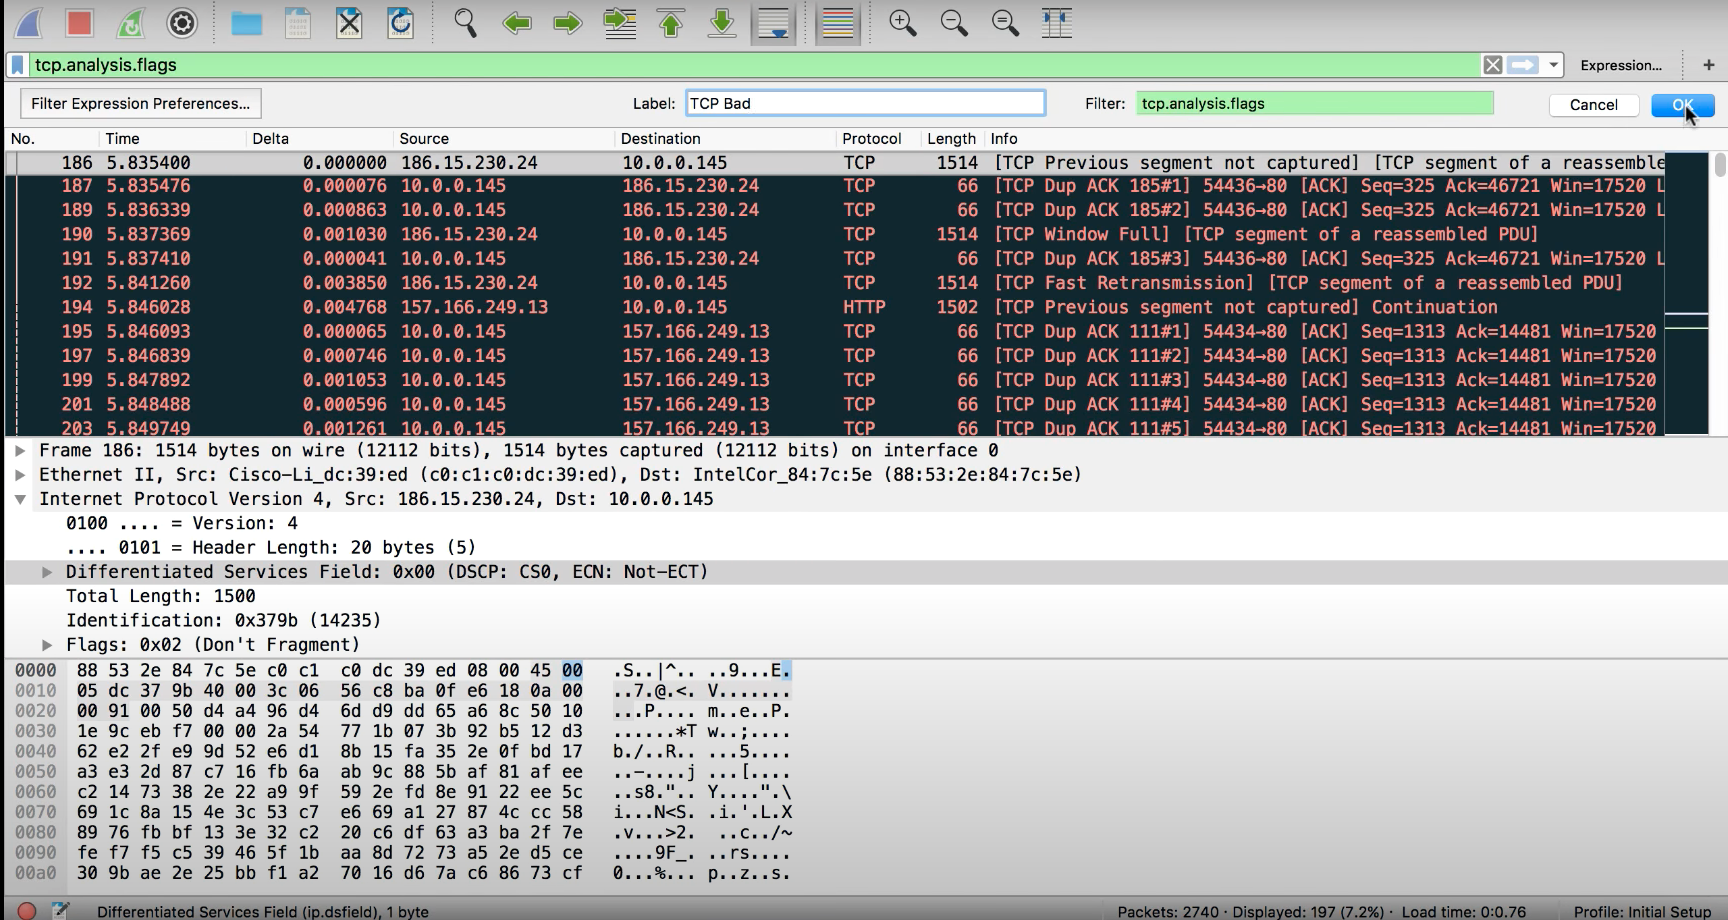
notice that at the top bottom of Wireshark the interface will show you all the filters that you can filter for and give you the name when you standing on the packet analysis

Long-Term Capture
for long-term capturing we can add a capture option to automate capturing and saving the pcap files besides we can edit the limit so we can set a limit to a file in seconds or in KB/MB/GB
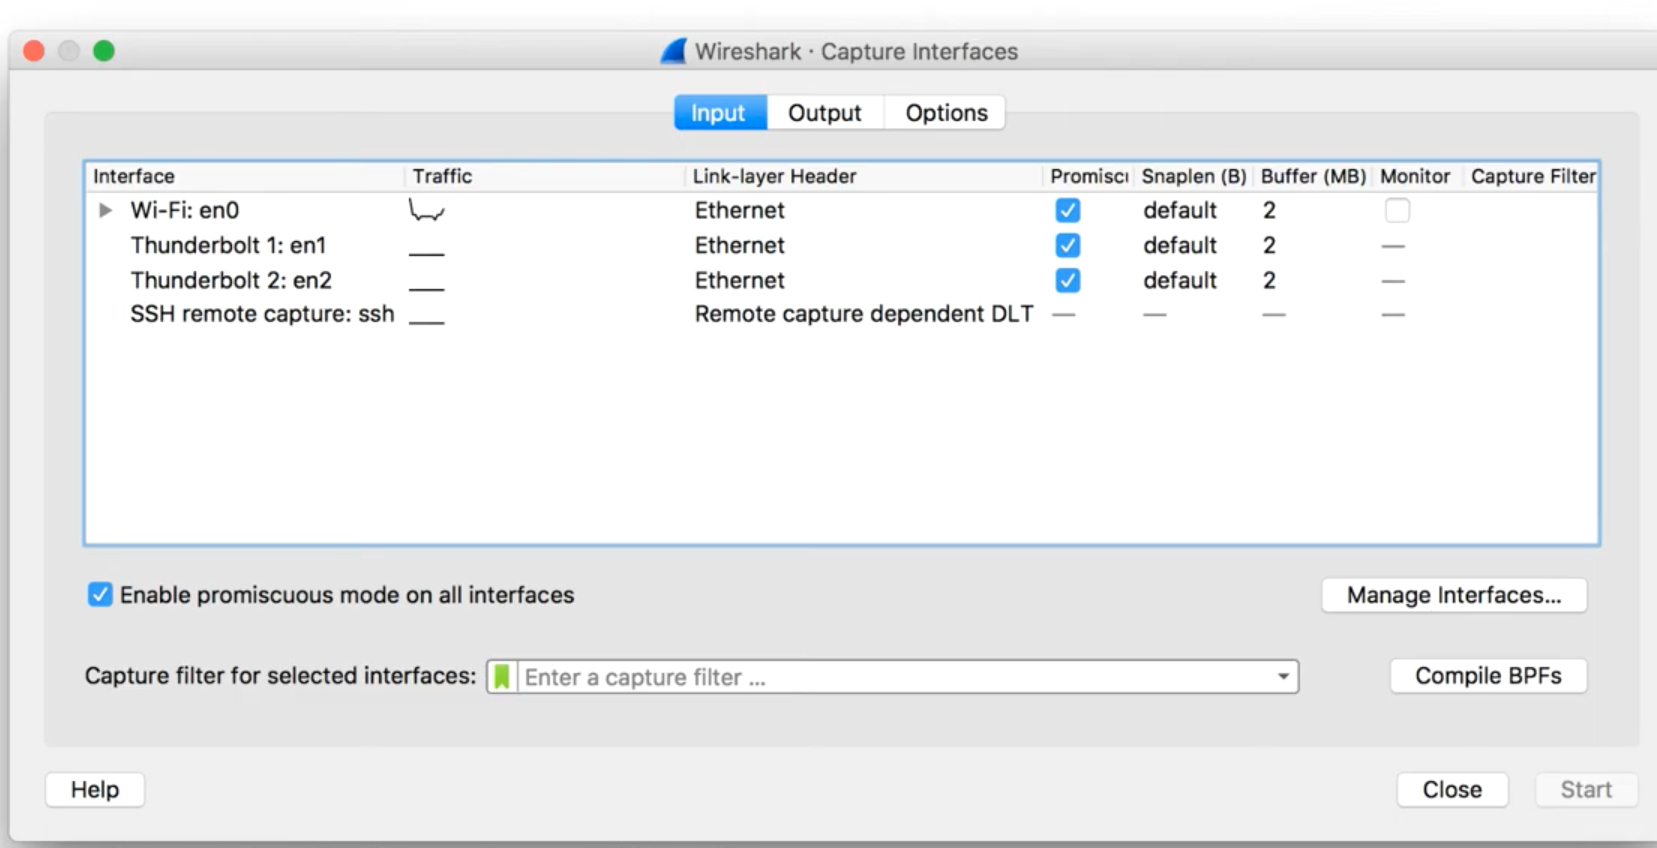
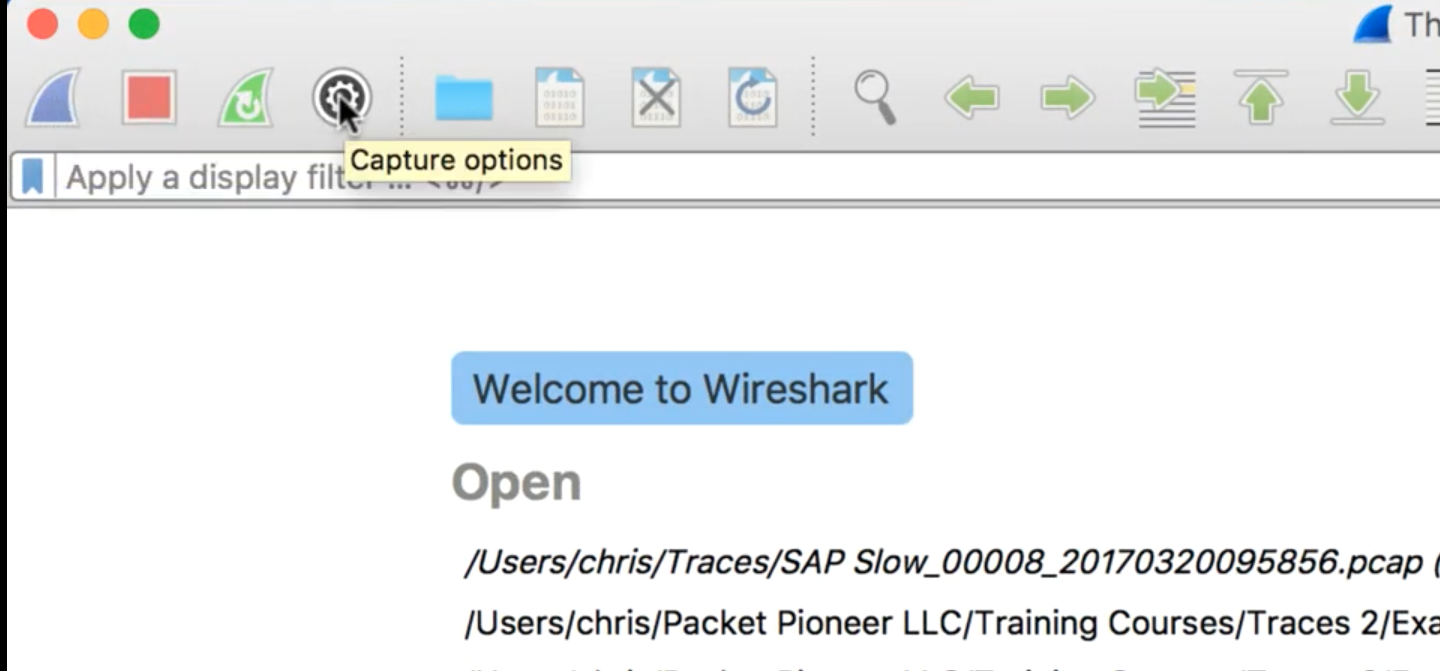 then select the interface
 then the limit options and where to save the files
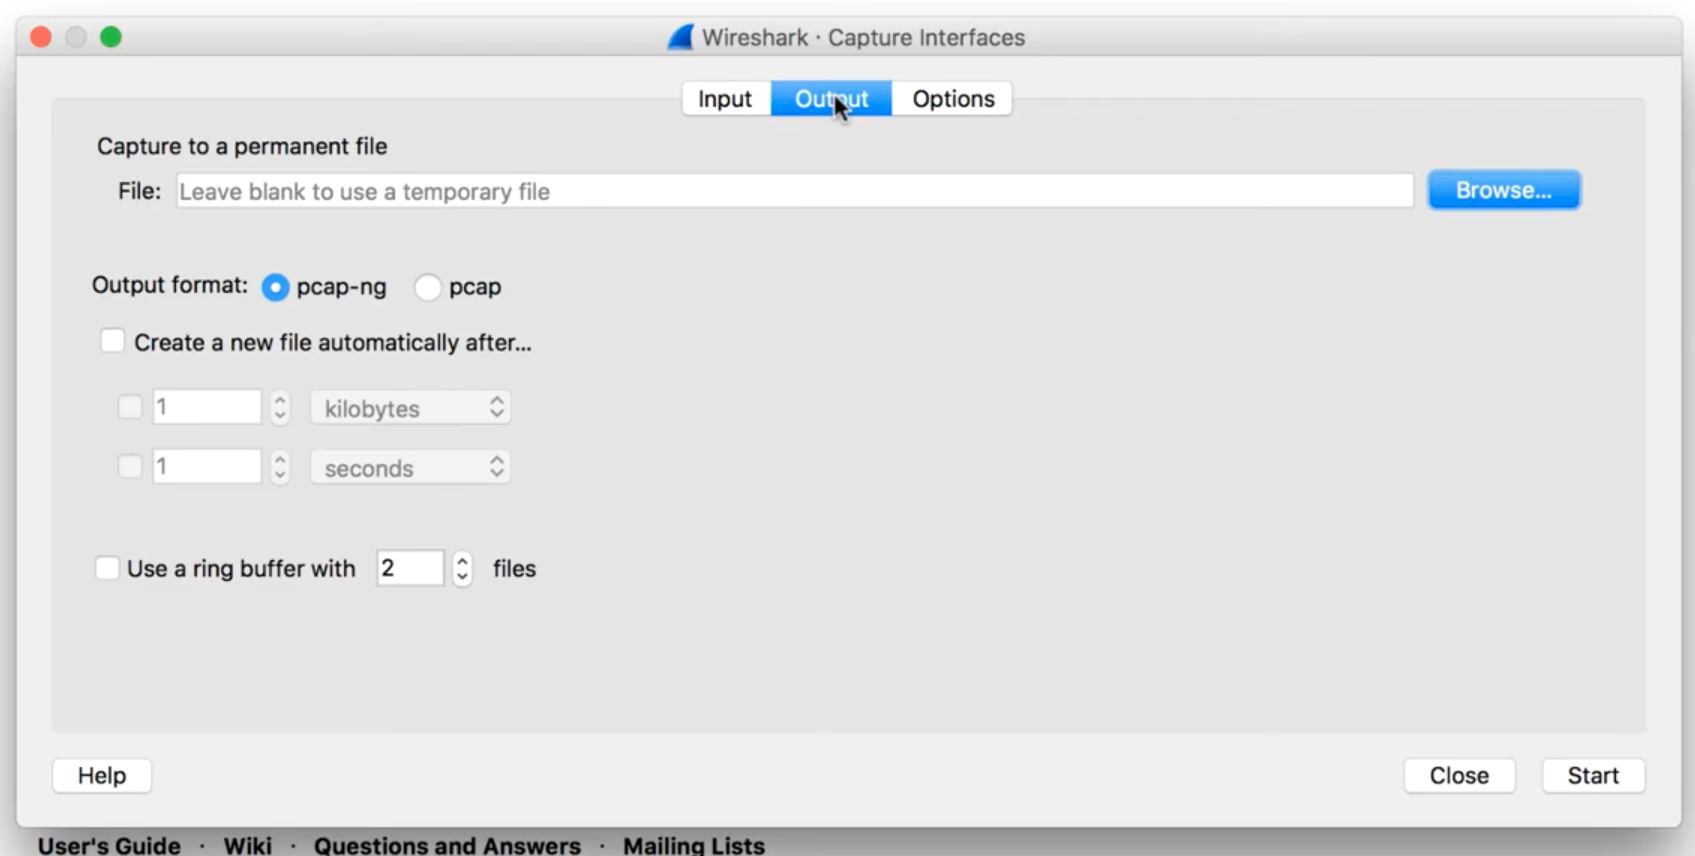 like this:
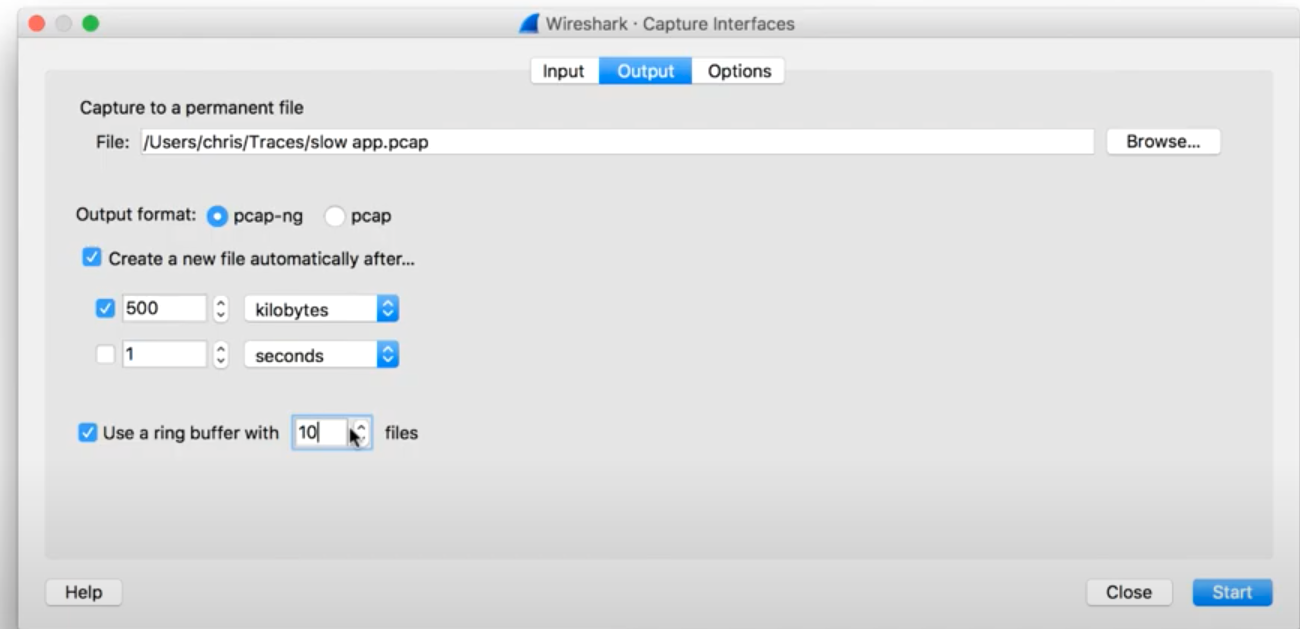
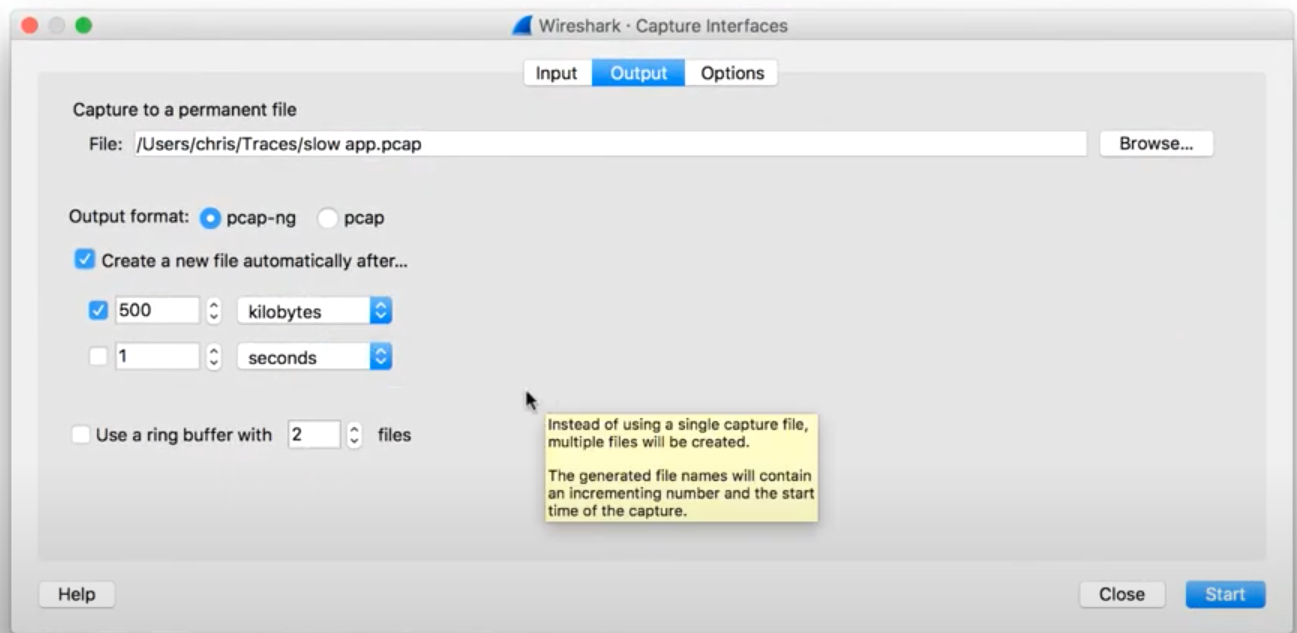 or we can limit it to a ring buffer so we can limit the number of the file and when Wireshark actually create 10 files it overwrite the first folder :
Filter Out What You Don't Need
!(eth.dst == ff:ff:ff:ff:ff:ff or arp or cdp or lldp or stp)you can this as a button like we learned before.
Adding Packet Diagram
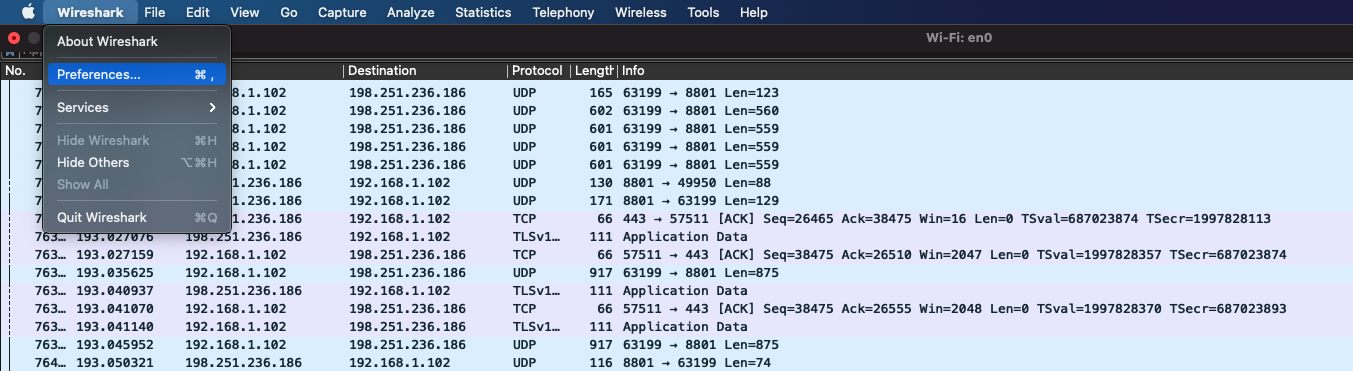 then click on layout select the layout that you need and in the third on mark the “Packet digram” section.
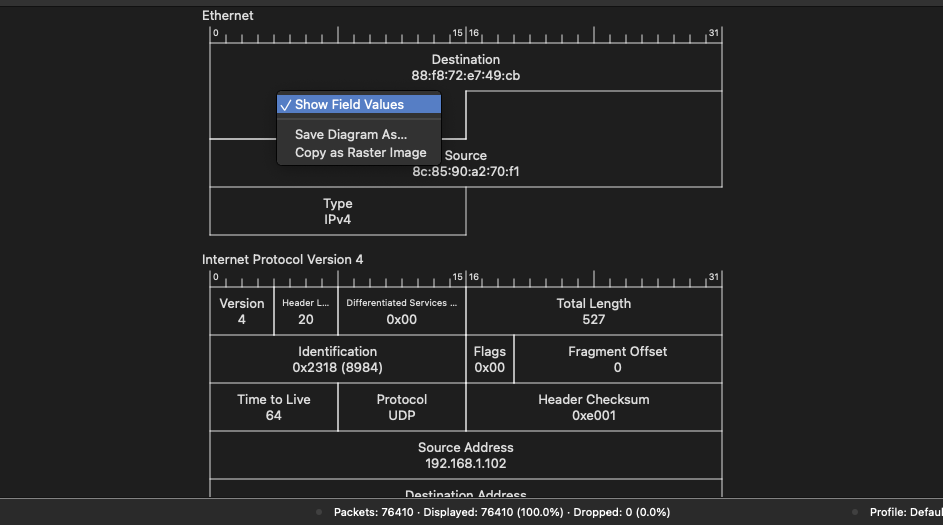
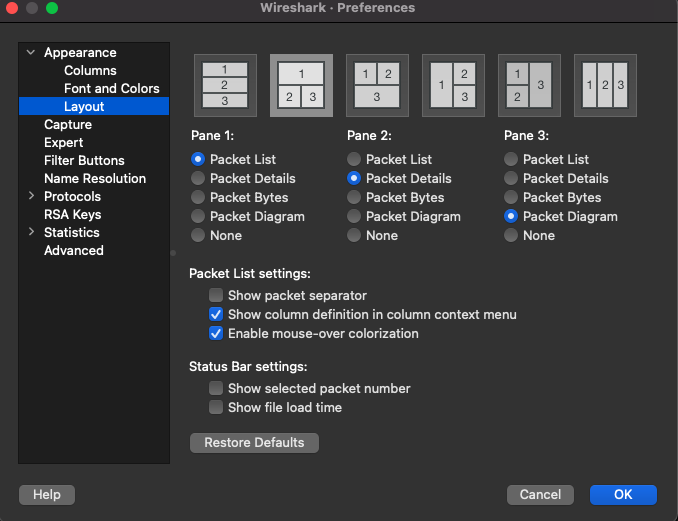 after the diagram been added it will look like this. and to see more detailed details in the diagram simply right click on it and then “show field values”.
Adding Delta Column (or any column).
again go to preferences then column then click on “+” sign
 then edit then column and name it and choose one from dropdown list
Capture With The Command Line
when you install Wireshark you install with it additional tools that can help you out to capture from the command line like DUMPCAP and TCPDUMP. in your MacOS open terminal then add the Wireshark directory to your $PATH:
PATH=/usr/local/bin:/usr/bin:/bin:/usr/sbin:/sbin:/Applications/Wireshark.app/Contents/MacOSthen you can simply type “dumpcap” and start capturing see “dumpcap -h” for help.